The Cyanotype Process
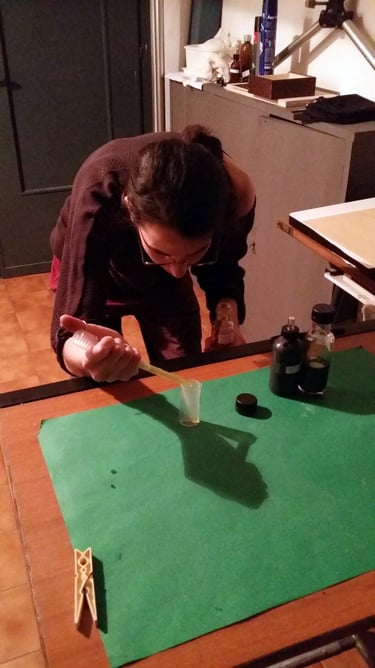
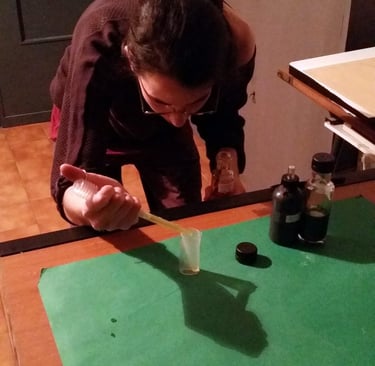
The cyanotype process, also known as blueprinting, is a photographic printing technique that involves using a solution containing two key chemicals: ferric ammonium citrate and potassium ferricyanide. These chemicals are mixed together to form a light-sensitive emulsion.
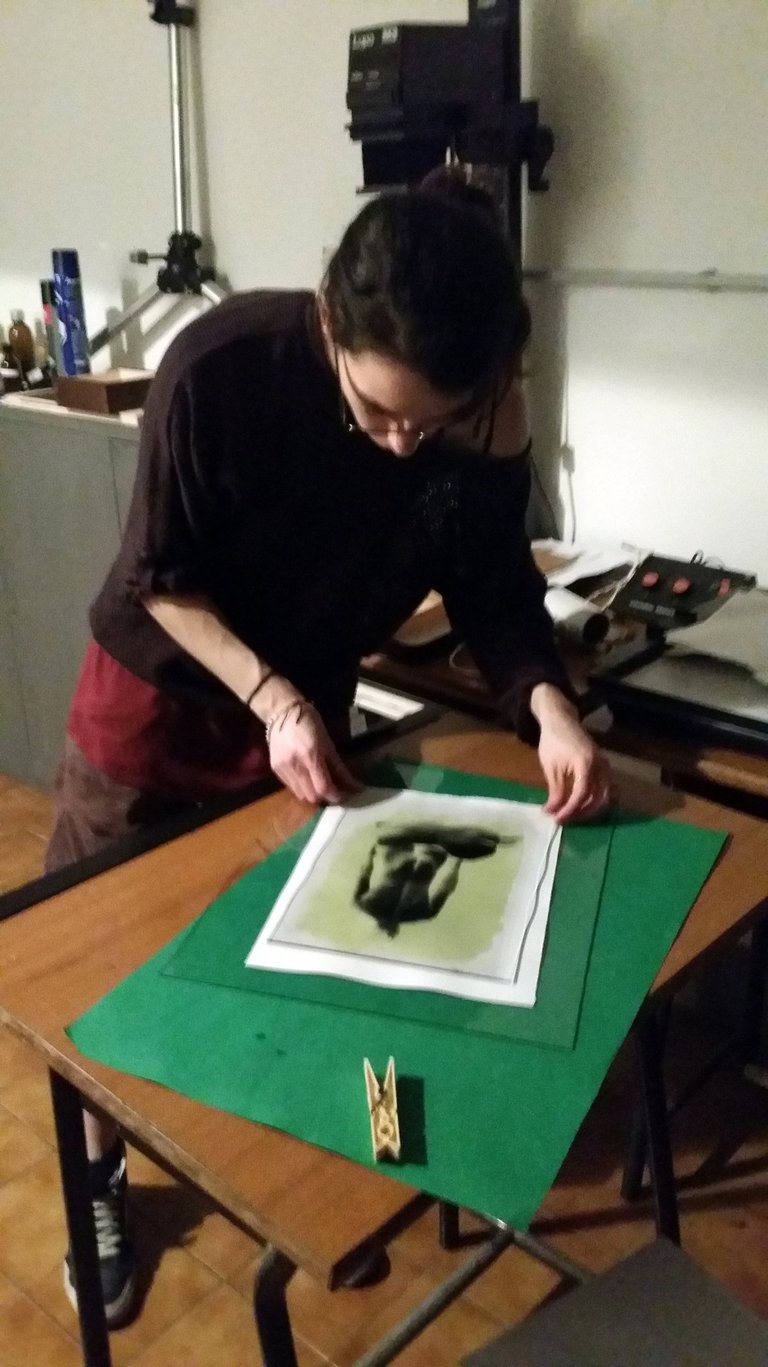
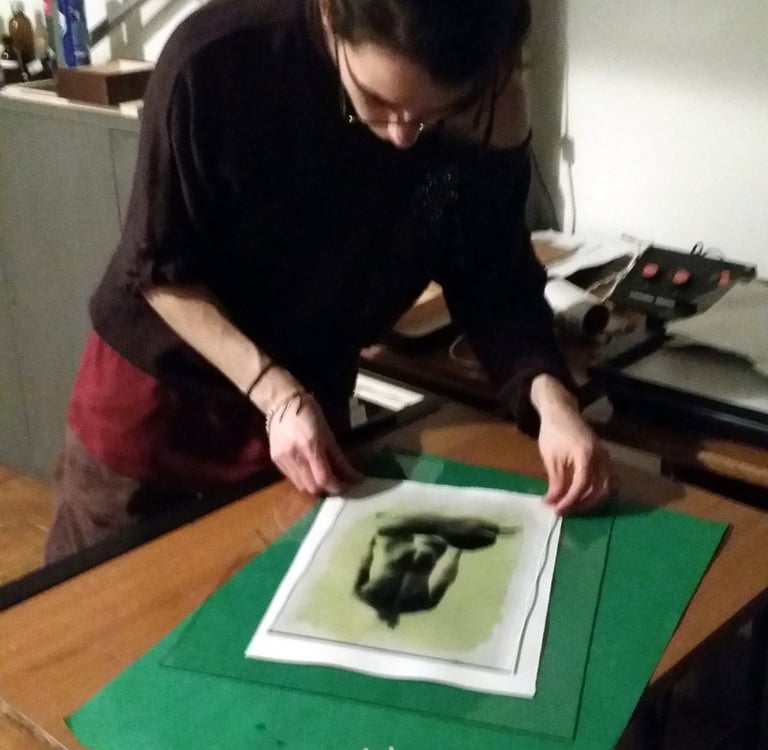
Once the emulsion has dried, a transparent or opaque object, such as a negative or a physical object like leaves or flowers, is placed directly onto the coated surface. Alternatively, the surface can be exposed directly to sunlight without an object, resulting in a photogram-style image.
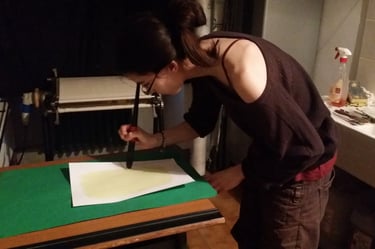
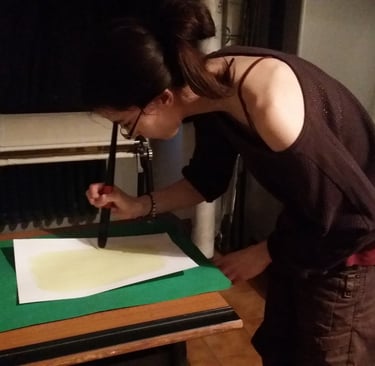
To create a cyanotype print, this emulsion is applied to a surface, typically paper or fabric, using a brush, roller, or spraying method. The surface is then left to dry in a dark environment, away from any light sources.
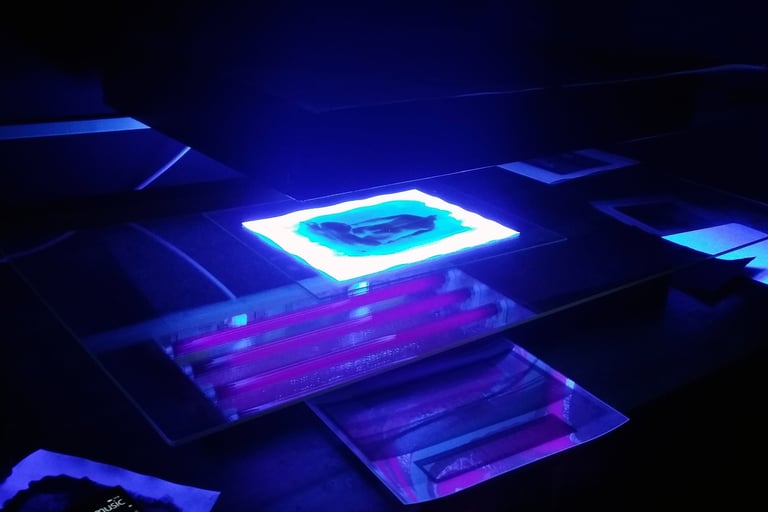
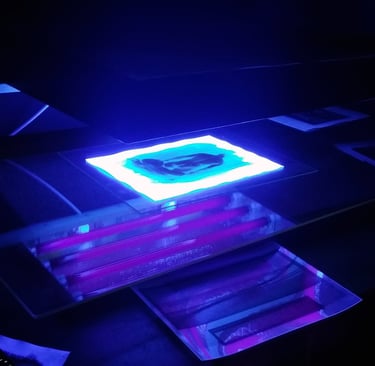
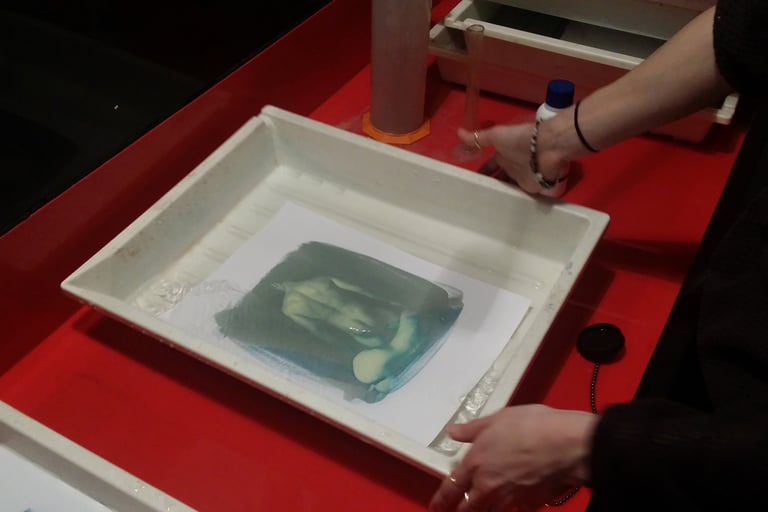
When exposed to ultraviolet (UV) light, such as sunlight, the chemicals in the emulsion react to the light. This reaction causes the ferric ammonium citrate to reduce to ferrous iron and the potassium ferricyanide to oxidize to ferric iron. As a result, insoluble ferric ferrocyanide, also known as Prussian blue, forms in the exposed areas of the emulsion.
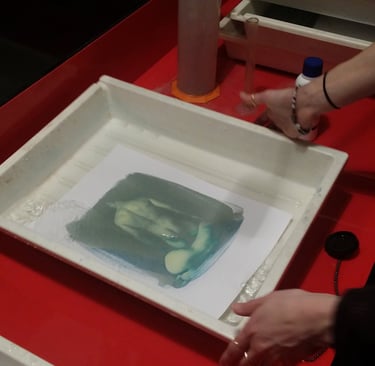
After a sufficient exposure time, the coated surface is rinsed with water to remove any unexposed chemicals. This reveals the cyan-blue image formed by the areas where the light was able to penetrate the negative or object. The parts of the surface that were shielded from light remain unexposed and retain their original color, usually white or light-colored.
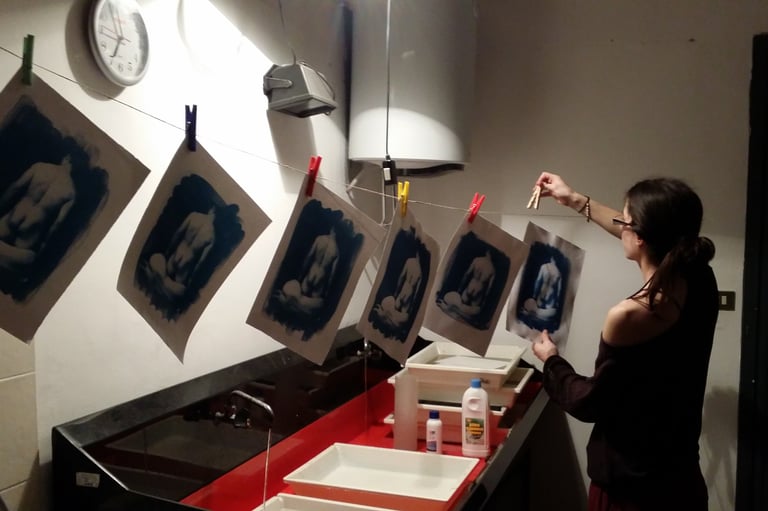
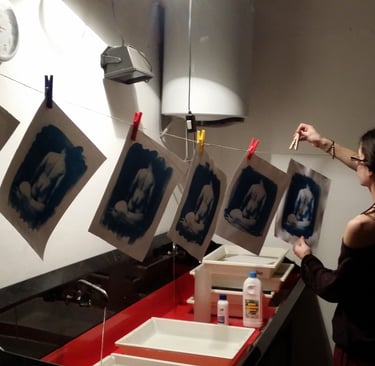
After the initial rinsing process, cyanotype prints undergo multiple washes in clean water to ensure the removal of any residual chemicals from the paper or fabric surface. This washing stage is crucial for stabilizing the image and preventing it from fading over time. Typically, the prints are soaked in water for several minutes or even hours, with occasional agitation to facilitate the removal of excess chemicals. Once the washing process is complete, the prints are carefully dried in a dark, well-ventilated area to prevent any potential damage or fading from exposure to light. Proper washing and drying techniques are essential for preserving the longevity and vibrancy of cyanotype prints, ensuring that they maintain their archival quality for years to come.
The resulting cyanotype print exhibits a rich blue color, though variations in exposure time, chemical concentrations, and the type of surface used can produce different shades of blue.
Preparing the emulsion
Applying the emulsion to the surface
Placing the negative onto the coated surface
First wash
Exposing to UV light
Drying the final artwork
© Sara Campi, 2026. All rights reserved.
Get in touch
For inquiries, artwork details, or potential collaborations, I'd love to hear from you at: